
Process
Five steps, and none of them get skipped.
Coating failures almost never come from the resin. They come from prep that got rushed, moisture nobody checked, or a topcoat walked on too early. Here is the order of operations, what happens at each stage, and roughly how long the surface is out of service.
-
On-site walk & measure
Carlos comes out, measures the actual surface and reads the slab: existing coatings, cracks, spalling, oil staining, joint condition, drains, thresholds and how the room gets used. You talk through color, sheen, traction and layout. What comes back is a written estimate with the system, the prep included and the schedule — no square-foot guess over the phone, because two garages of identical size can be very different jobs.
-
Prep — grind, repair, test
The longest and least glamorous stage, and the one that decides how long the coating lasts. The surface is diamond-ground to a coating-ready profile so the resin can key into open concrete instead of sitting on a sealed, polished skin. Cracks get chased out and filled, spalls and pitting get rebuilt, control joints are honored or re-cut, and old coatings are removed rather than coated over. A moisture check comes before any resin, because how hard the slab is pushing vapor decides how the moisture vapor barrier epoxy gets specified underneath the build — and finding that out afterwards is how floors bubble.
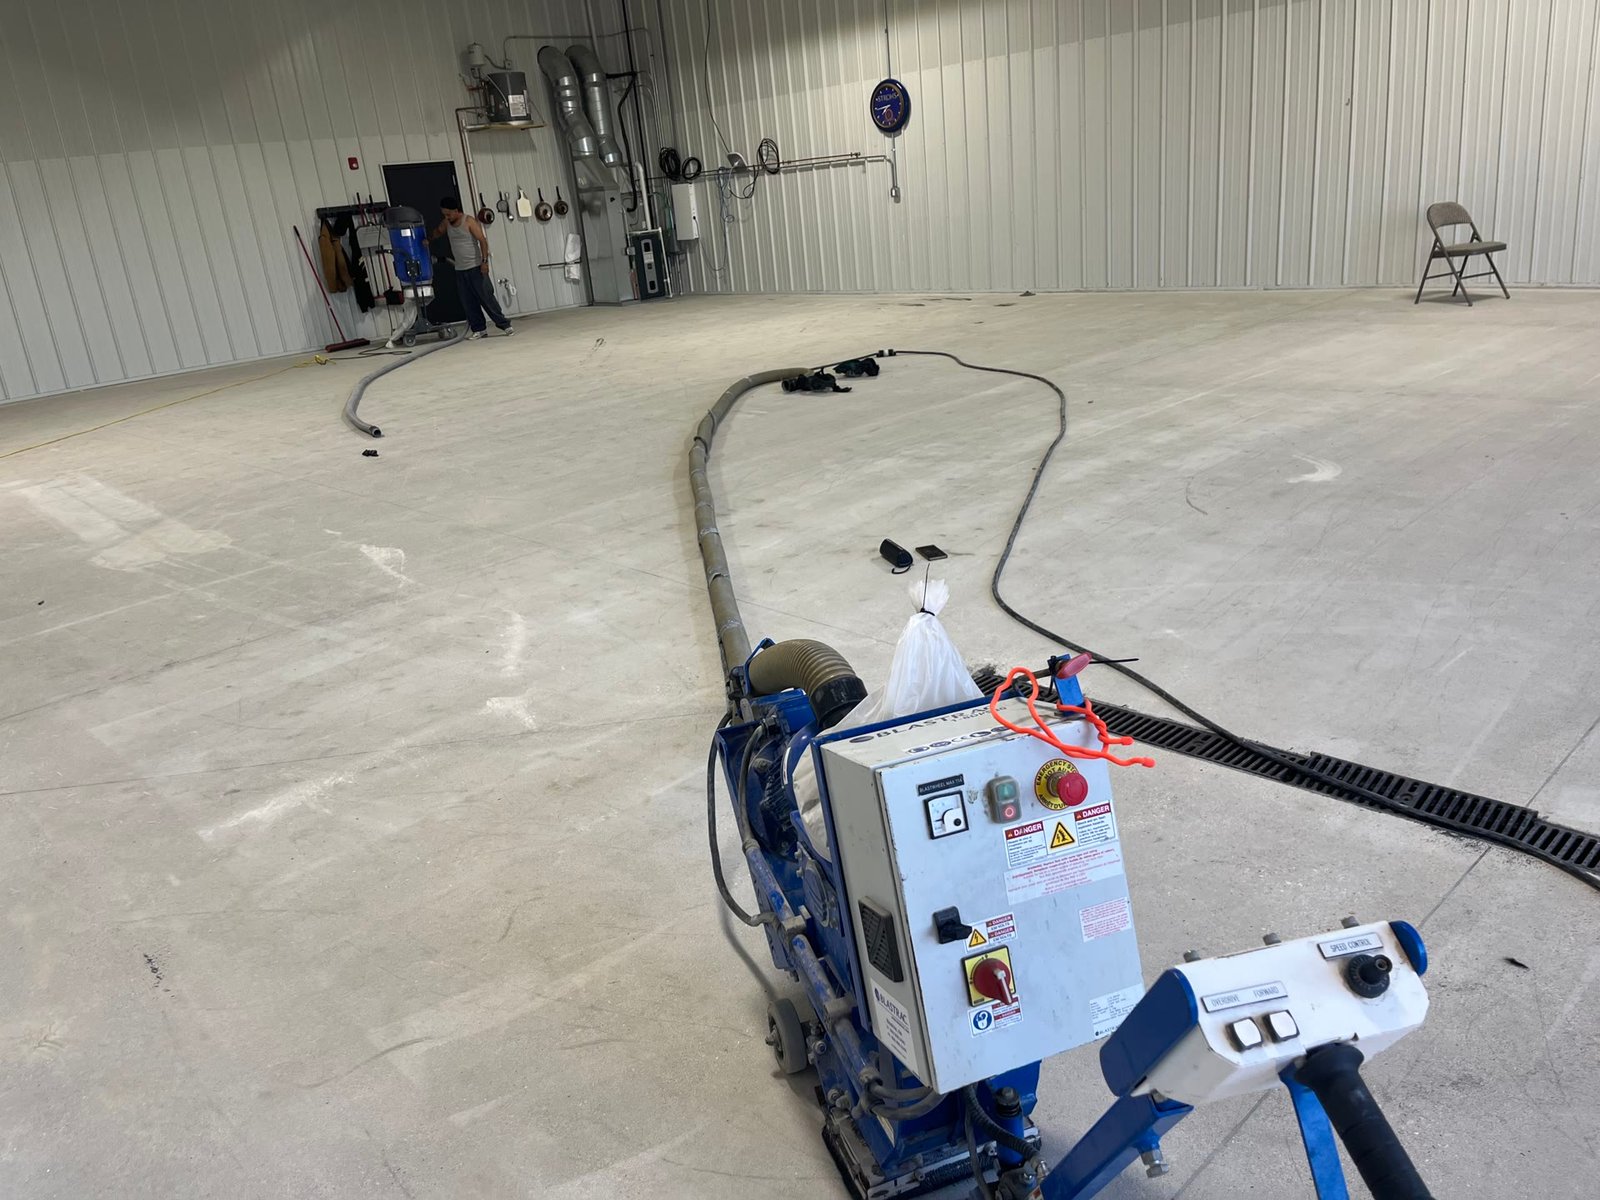
Step 02 on a commercial pour — diamond grinding opens the slab so the resin can key in instead of sitting on a sealed skin. -
Base coat
Primer and base go down onto a clean, dry, profiled surface, cut in at the edges first and then rolled out wet-edge across the field. Everything is mixed by ratio and worked inside its pot life, which is why the crew moves fast and in one direction once mixing starts. The primer is a moisture vapor barrier epoxy — it is rated to hold back moisture drive that would lift a standard epoxy, which is what keeps a basement or an on-grade slab from delaminating years later. Commercial floors get it on every pour, and it buys chemical resistance along with the bond. On porous or thirsty slabs this stage can take an extra pass.
-
Design coat — flake broadcast or metallic hand-move
This is the part you actually see. On a flake or quartz system, chip is broadcast into the wet base to refusal, left to cure, then scraped and vacuumed back so the texture is even underfoot rather than sharp — a full flake blend, decorative quartz or a straight solid color are all choices inside that one system, and commercial floors run the same broadcast at 1/16 inch single or 1/8 inch double depending on the traffic. On a metallic system, pigmented resin is spread and then moved by hand — squeegee, roller and air — to pull the veining and highlight pattern while it is still open. That figure is created in the moment and cannot be reproduced, which is the point of the system.
-
Topcoat, cure & return to service
One or more clear polyaspartic topcoats go on last, chosen for the traffic and chemicals the surface will see, with sheen from matte to high gloss and non-slip additive where traction matters. Polyaspartic is UV stable, so the floor does not yellow and keeps looking brand new whether it is a garage, an outdoor patio or a set of stairs. Then it cures. As a general rule for interior floors, light foot traffic returns after about a day, and vehicles and heavy rolling loads after several days — deep-pour bar tops and countertops take longer, exterior work depends on temperature, and the real numbers for your job are confirmed on site before the crew leaves. Rushing this step is the single most common way a good floor gets ruined by its owner.
Timing above is general. Cure and return-to-service depend on product, film thickness, temperature and humidity on the day. Every job gets its own numbers confirmed on site, and they are written on the estimate along with the warranty terms.
Before & after, honestly
What changes underfoot.
Two material states, drawn rather than photographed — bare slab on the left, a finished flake build on the right. Real job photos go up on the gallery as work wraps.
Porous, dusting, absorbing every drip. Sweeping moves dust around instead of removing it, and stains are permanent.
Sealed, textured and washable. Spills sit on top, a mop actually works, and the surface stops shedding dust into everything you store on it.
Ready to get on the schedule?
Send the surface details and we will book the walkthrough. Deposits hold your date; the balance follows the written estimate.